
Welcome to Part 2 of my Learn to Crochet series. Feel free to go back and check out Learn to Crochet: Part 1- Getting Started, if you missed it. We are going to start with the strap of the crochet bag.
For the strap, we will be using a single crochet stitch. Single crochet is abbreviated in patterns as sc. For this tutorial, I will put the abbreviations in parenthesis, so that you can get used to seeing them. This will make it easier for you to learn to read patterns. If you would like to print or download a “cheat sheet”, take a look at my Common Crochet Abbreviations chart.
The strap will give you plenty of practice with the single crochet stitch. Once you are finished, you will be ready to move to Part 3.
I will begin by explaining the single crochet stitch. Next, there will be a photo tutorial. Finally, I will show you how it would look if you were reading the instructions off of a pattern.
Single Crochet (sc):
- You will begin with a foundation chain (ch). For this pattern (patt), we will chain 7 (ch 7).
- Insert hook into the second chain (ch) from the hook.
- Yarn over (YO) hook and pull it through the chain (ch) stitch (st). You will now have 2 loops (lps) on the hook.
- Yarn over (YO) hook and pull it through both of the loops (lps). You will be left with 1 loop (lp) on the hook.
- Continue working a single crochet (sc) in each chain (ch). When you get to the end of the chain (ch), you will have 6 single crochet (sc) stitches (sts).
- Now we will work the next row. Turn your work, and chain 1 (ch 1).
- Locate the top loops (lps) of the single crochet (sc) stitches (sts) of the previous (prev) row. You will notice that there are two loops (lps) for each stitch (st). We will be working through both loops (lps).
- Insert your hook into the first stitch (st) from the previous (prev) row {those loops we just located}, and work a single crochet (sc).
- Continue working a single crochet (sc) in each stitch (st).
- Now, just repeat steps 6-9, until you get the desired length. For the strap, we will work 200 rows.
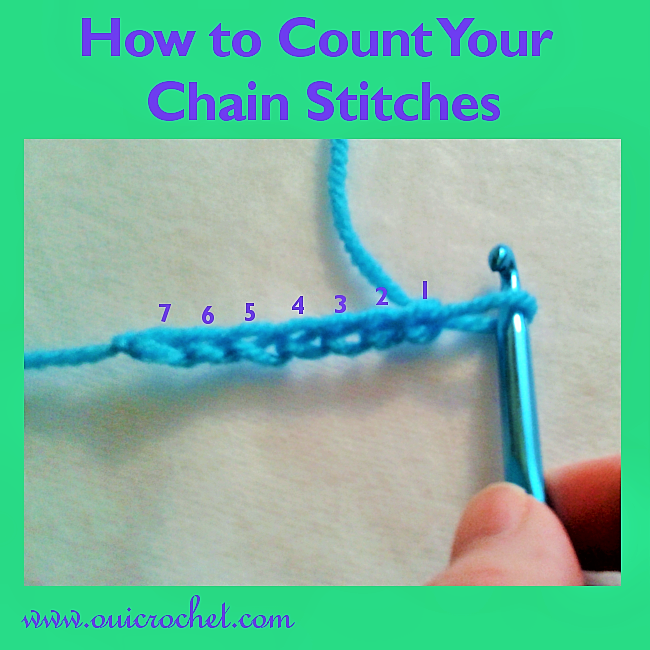
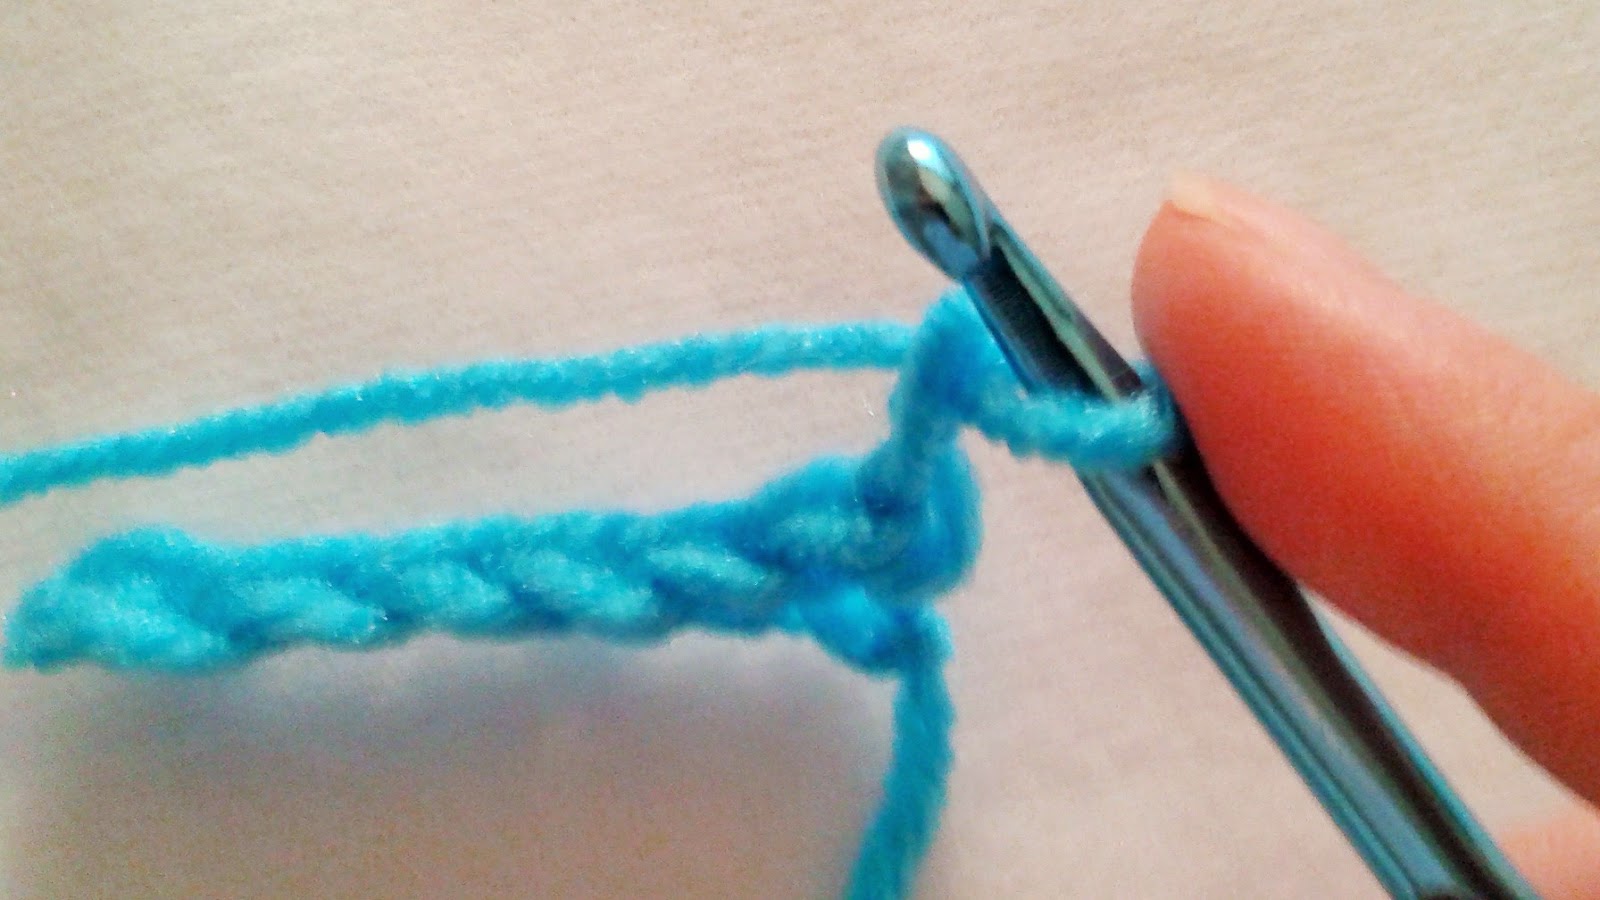
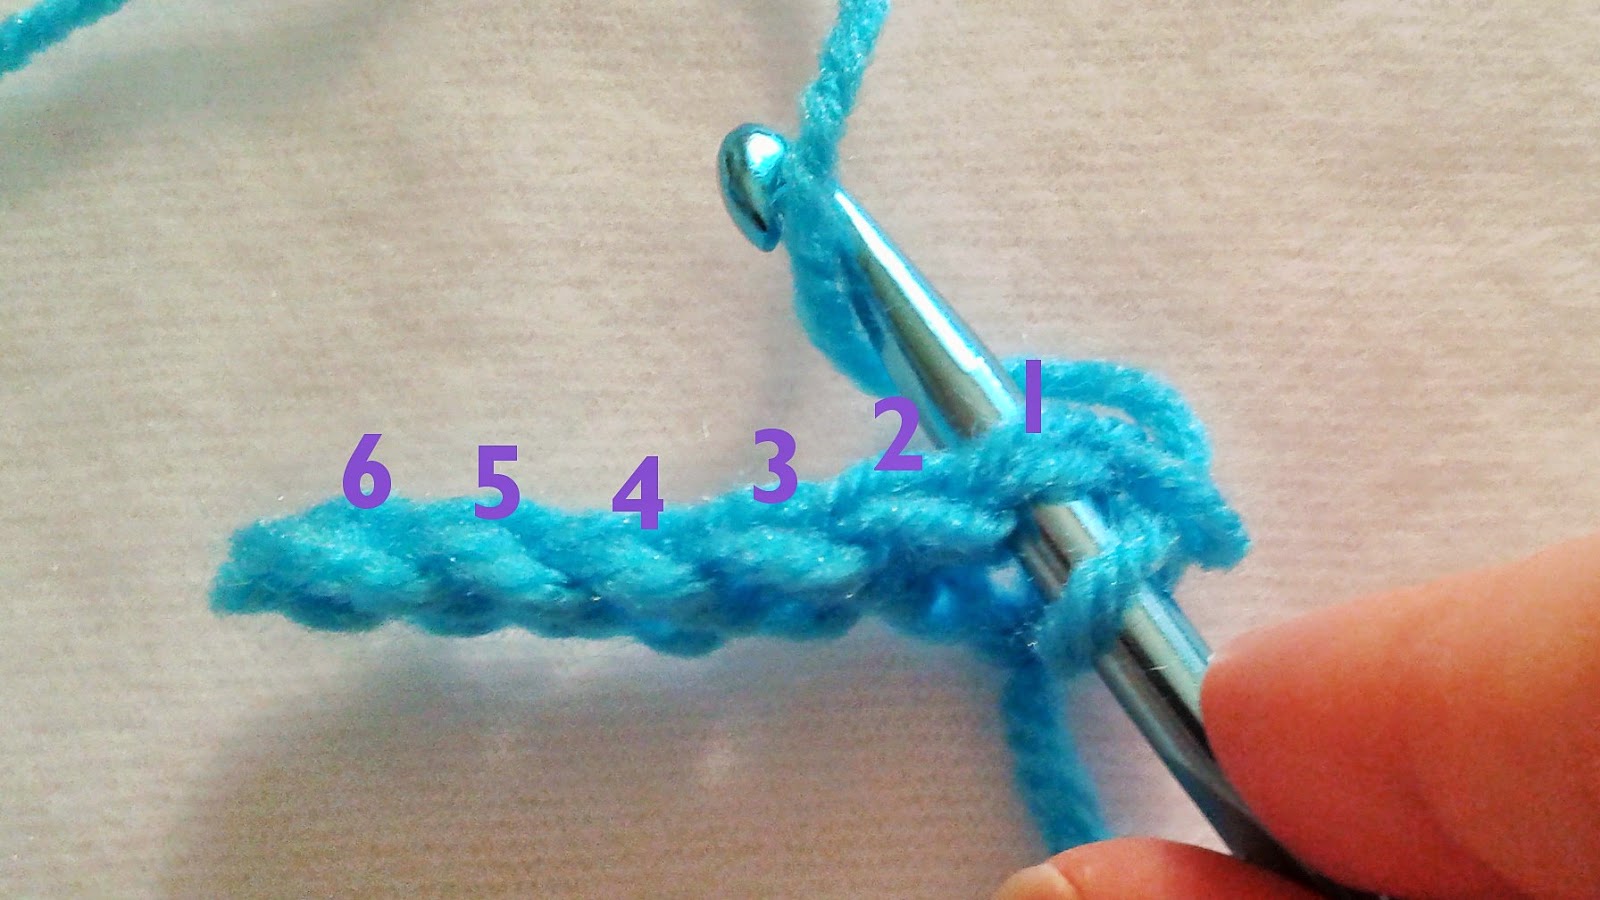
To begin, we will chain 7 (ch 7). We count from the last chain (ch) made, which is the one closest to the hook. We will be starting in the 2nd chain from the hook.
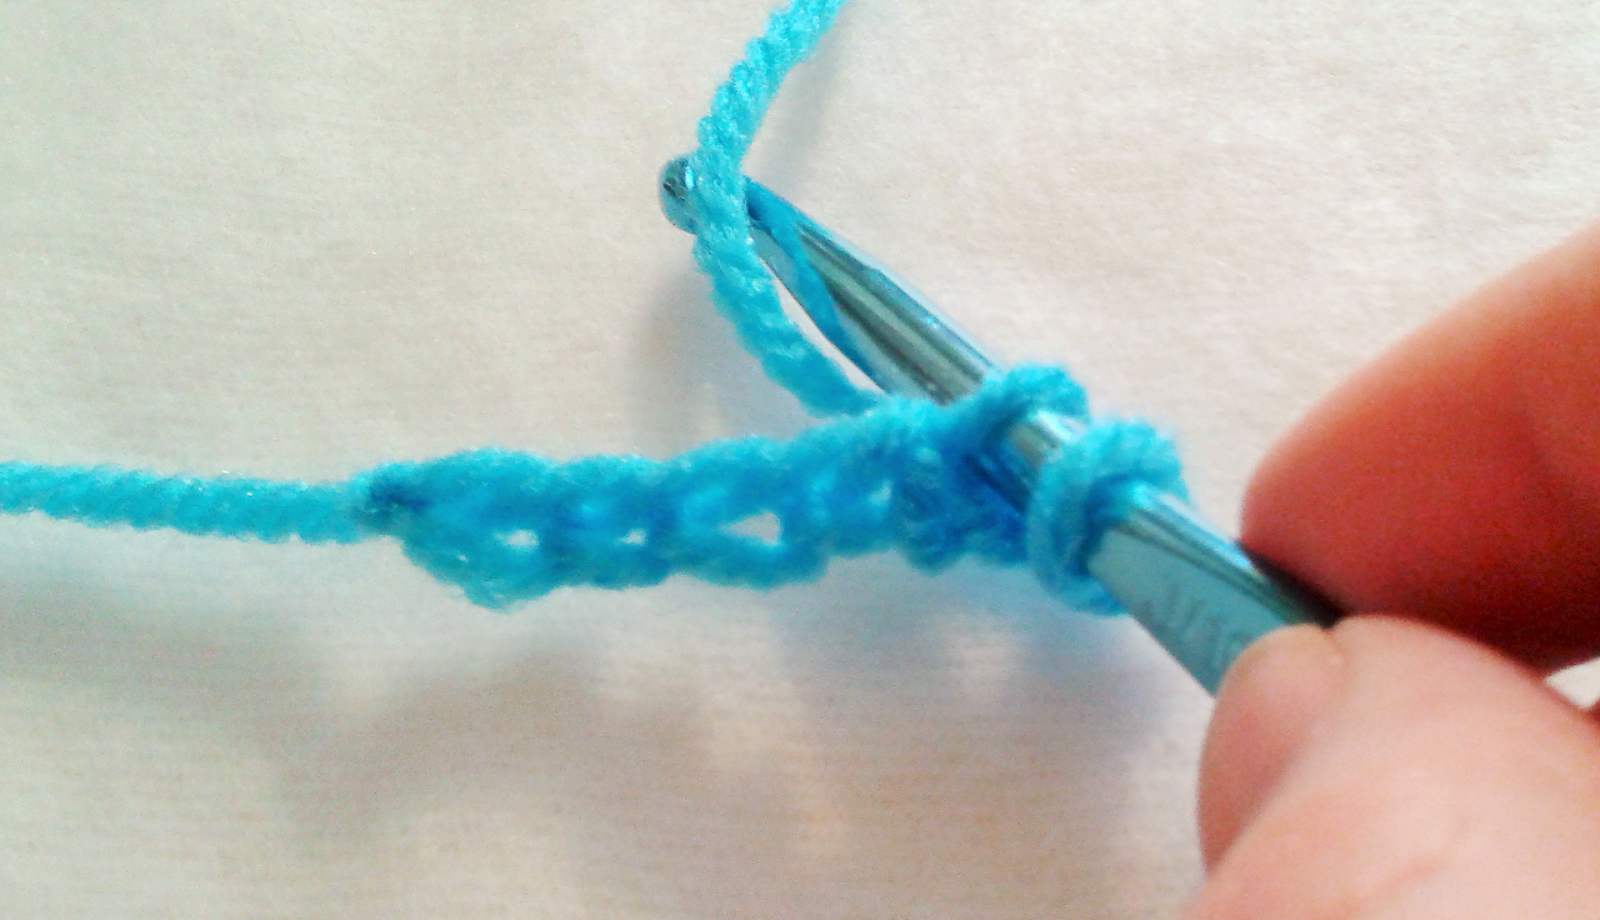
Insert hook into the second chain (ch) from the hook. Yarn over (YO) hook and pull it through the chain (ch) stitch (st). You will now have 2 loops (lps) on the hook.
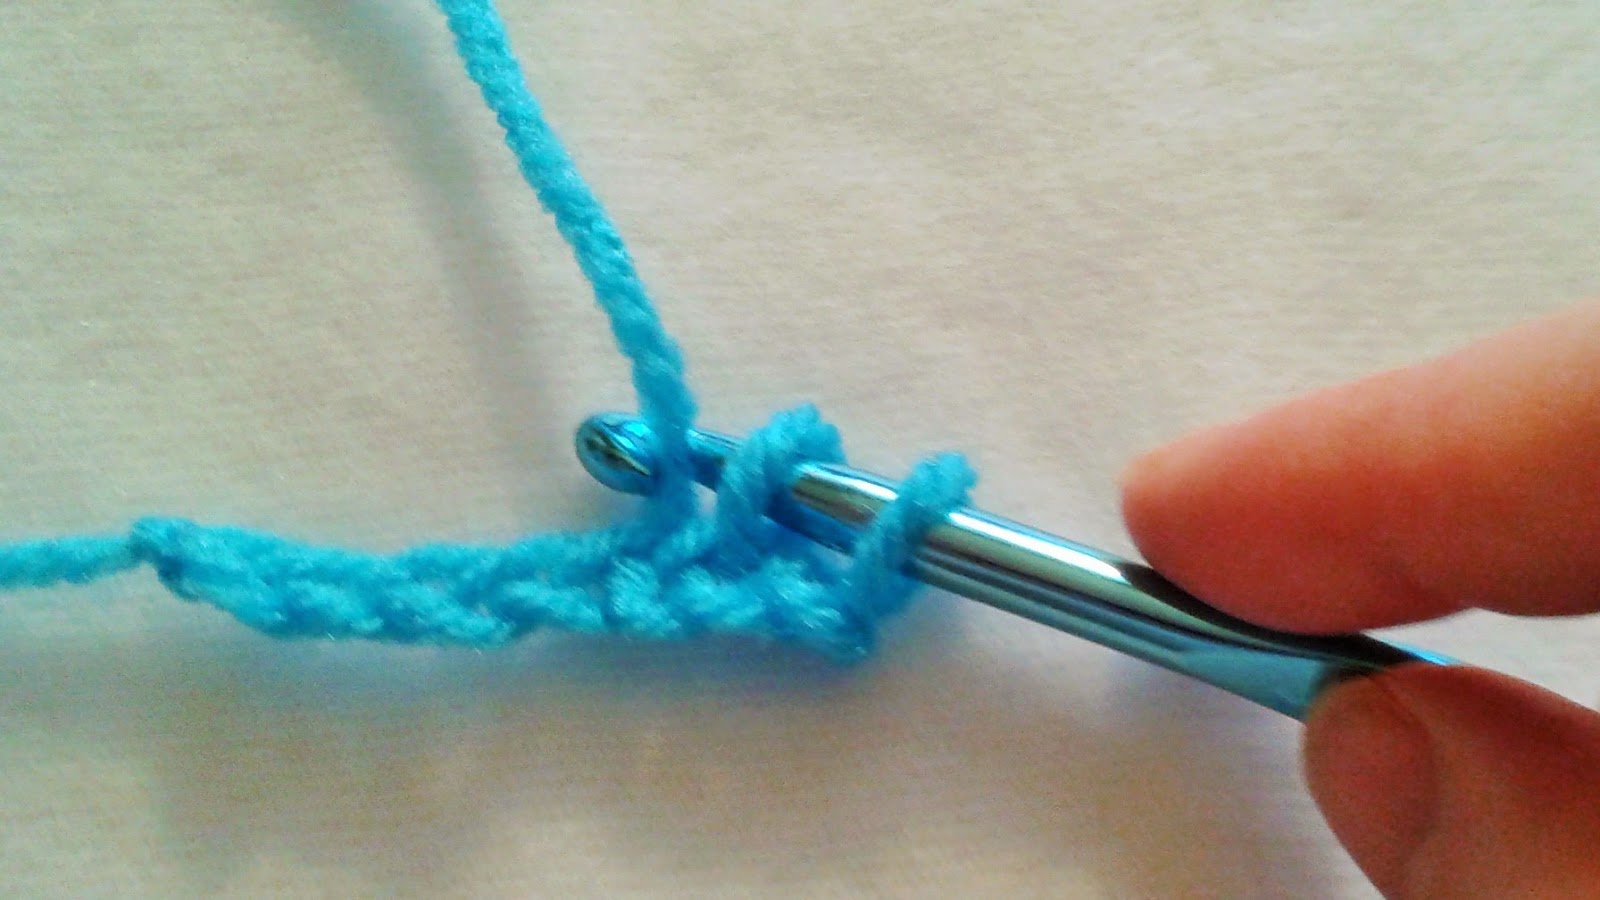
Yarn over (YO) hook and pull it through both of the loops (lps). You will be left with 1 loop (lp) on the hook.

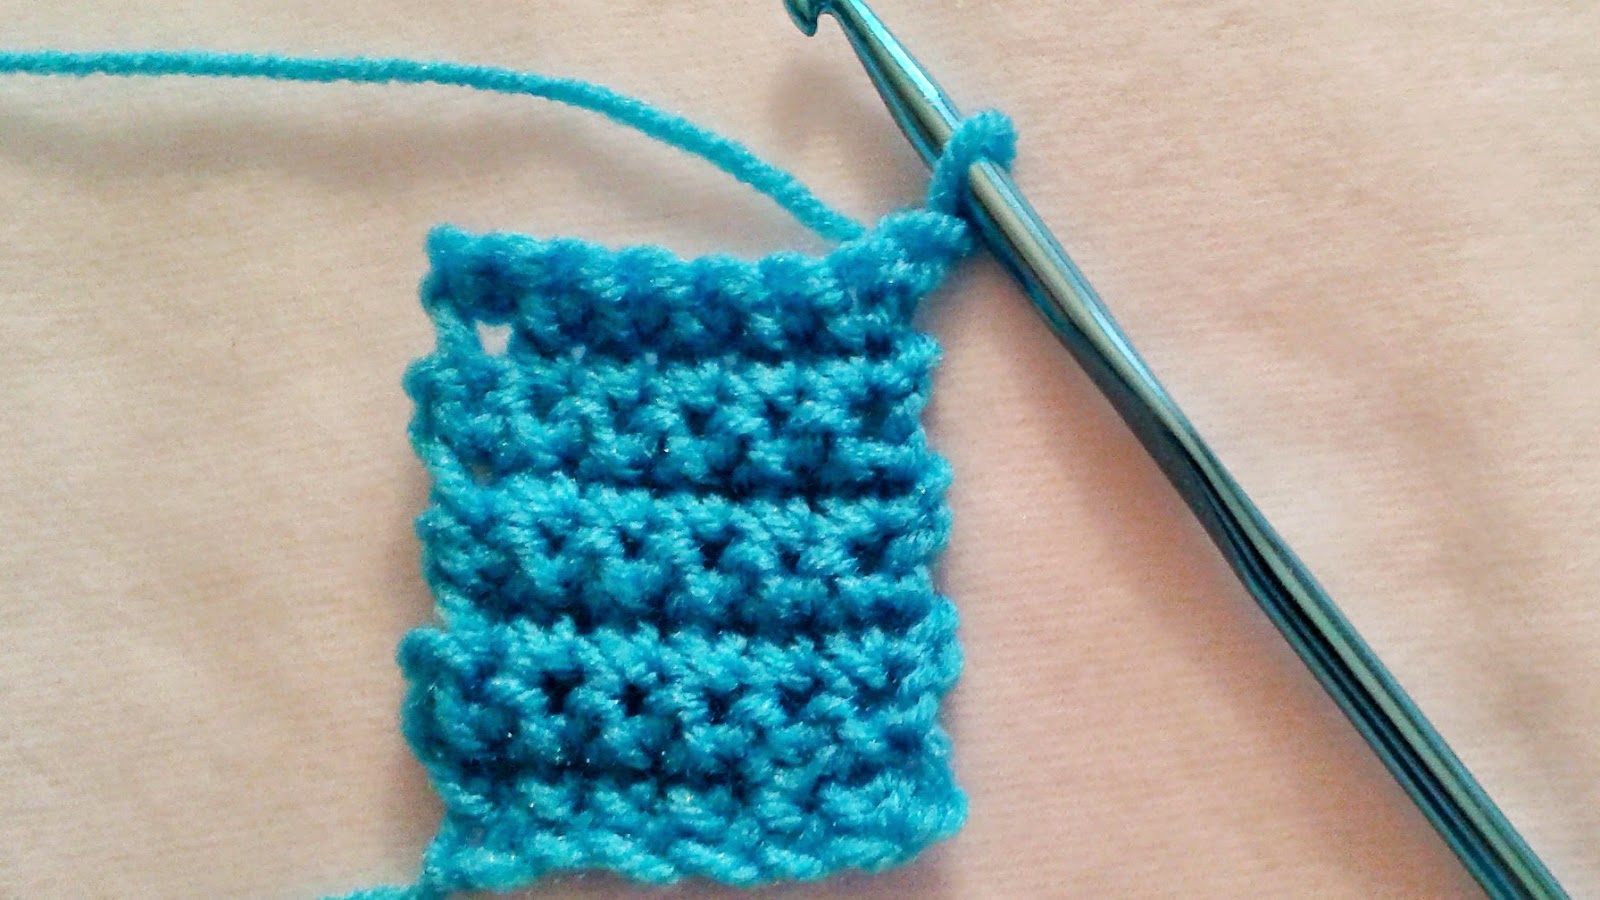
Continue working a single crochet (sc) in each chain (ch).
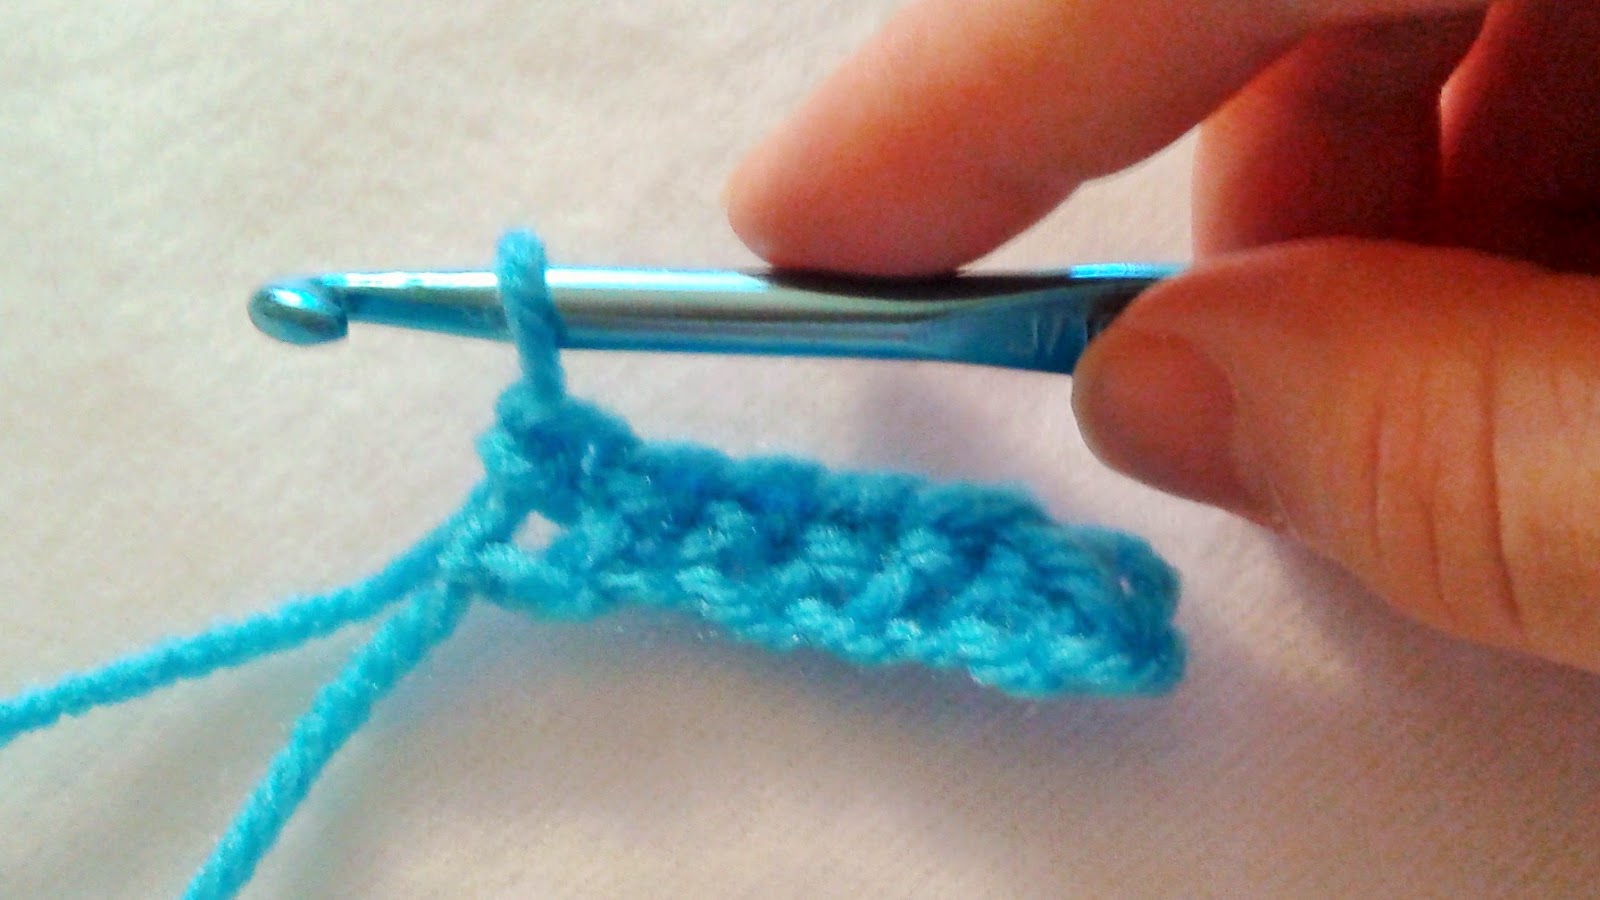
When you get to the end of the chain (ch), you will have 6 single crochet (sc) stitches (sts).
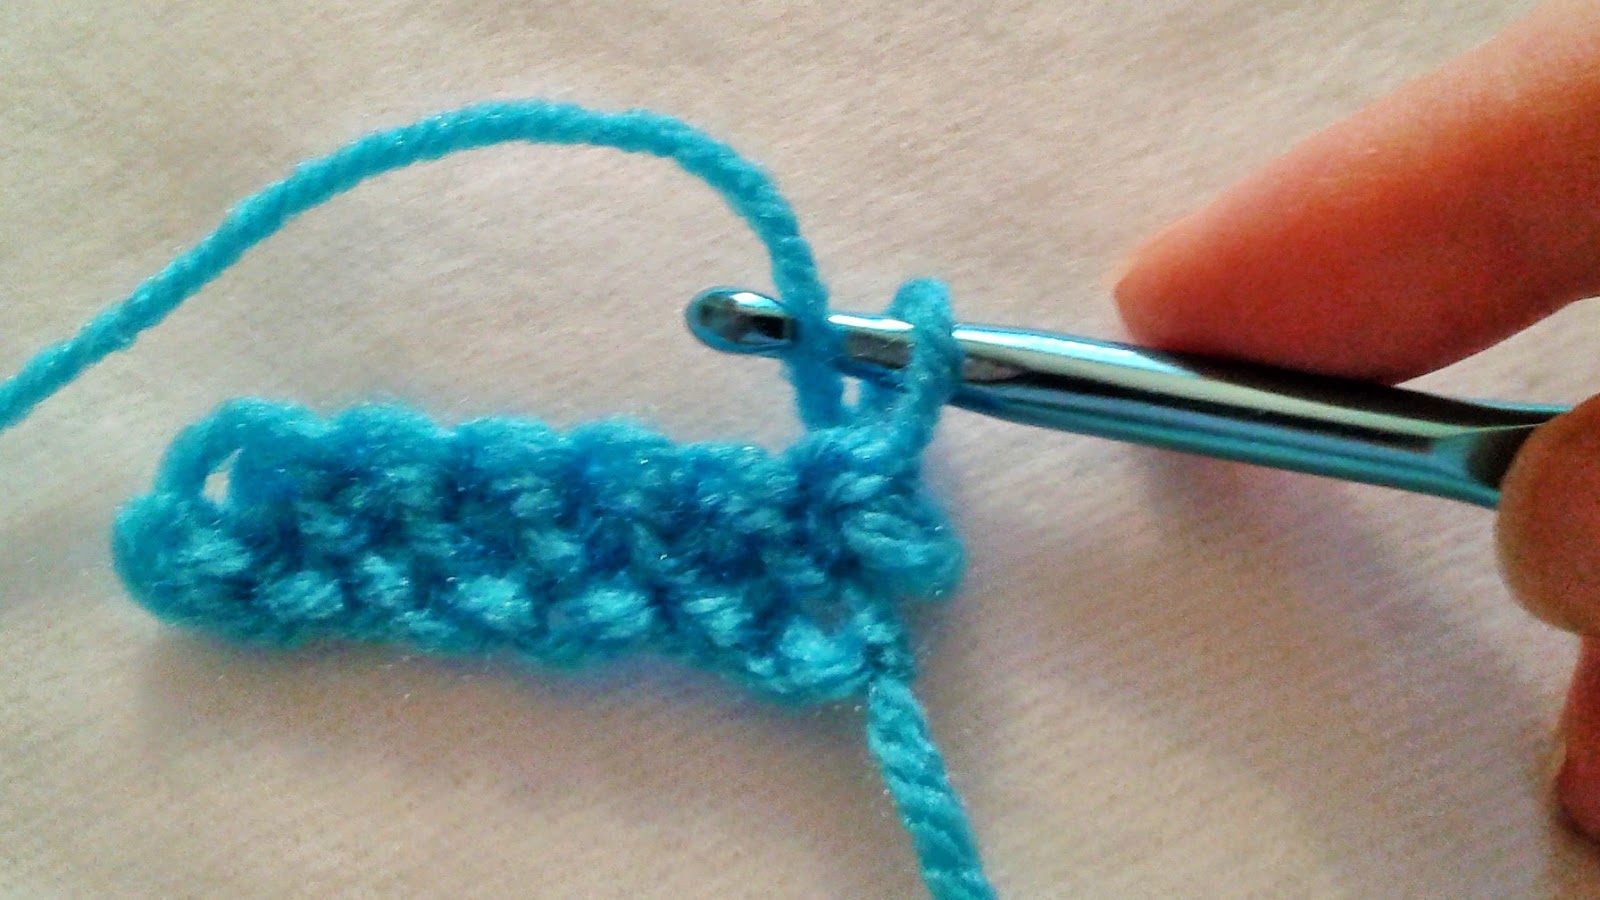
Now we will work the next row. Turn your work, and chain 1 (ch 1).
Locate the top loops (lps) of the single crochet (sc) stitches (sts) of the previous (prev) row. You will notice that there are two loops (lps) for each stitch (st). We will be working through both loops (lps). Insert your hook into the first stitch (st) from the previous (prev) row {those loops we just located}, and work a single crochet (sc).
Continue working a single crochet (sc) in each stitch (st). Now, just repeat steps 6-9, until you get the desired length. For the strap, we will work 200 rows.
Single Crochet Strap
Supplies:
Size J crochet hook
Worsted weight yarn
Pattern:
Ch 7
Row 1: sc in 2nd ch from hook. sc in each remaining ch. Turn. (6) {The (6) means you will have 6 stitches in this row.}
Row 2-200: ch 1, sc in each stitch across. Turn. (6)
FO, weave in ends

Here is a picture of the finished strap. Disregard the lavender edging. We will get to that in step 5.
When you are ready, go on to: Learn to Crochet: Part 3- Double Crochet Stitch
Happy Crocheting!