
Today we are going to talk about a popular little stitch variation that is used in many crochet patterns. Stitching into the back or front loop is very easy, but if you have never done it or seen it before, you may be slightly confused when it comes up in a pattern. No worries, though. After looking at this quick tutorial, you will know exactly how it’s done!
If you want to see how stitching in the back or front loop is used, you can take a peek at my Child’s Slouchy Hat with Brim, or my Toddler Tutu Dress pattern. Notice the ridged effect. This is the result of stitching in just one loop.
Let’s get started.
How to Crochet in the Back or Front Loop
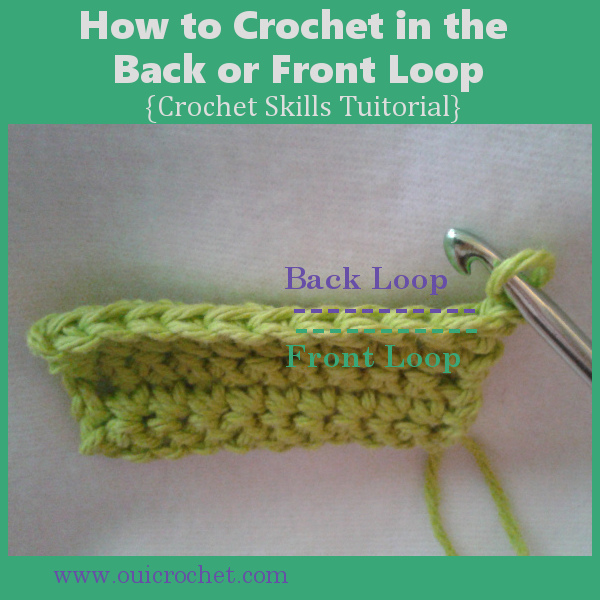
We will begin with crocheting into the back loop (BL).
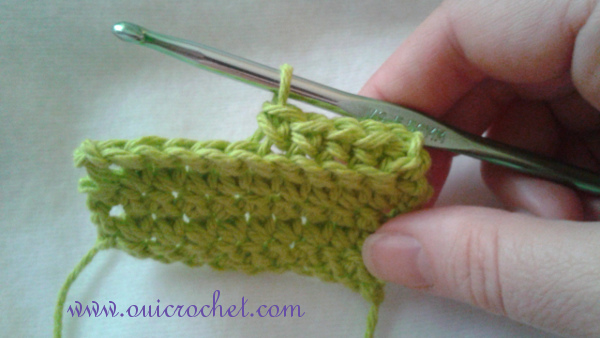
1. Normally, we insert our crochet hook into both loops of a stitch. Look at the photo and note where the front loops are and where the back loops are.
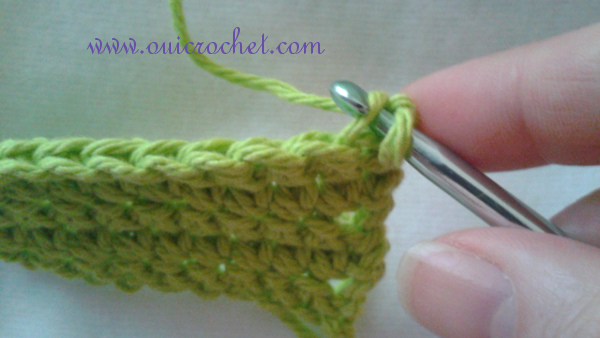
2. Instead of inserting your hook into both loops, insert your hook into the back loop only.
3. Complete your stitch.
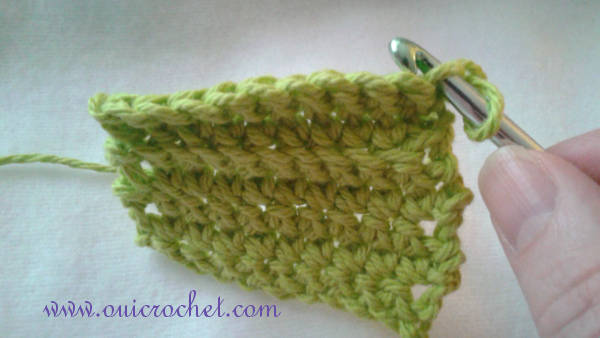
4. It is that easy. Just continue working the back loop until the pattern says otherwise. Notice the ridge left below the stitch. This is the result of the unworked loop.
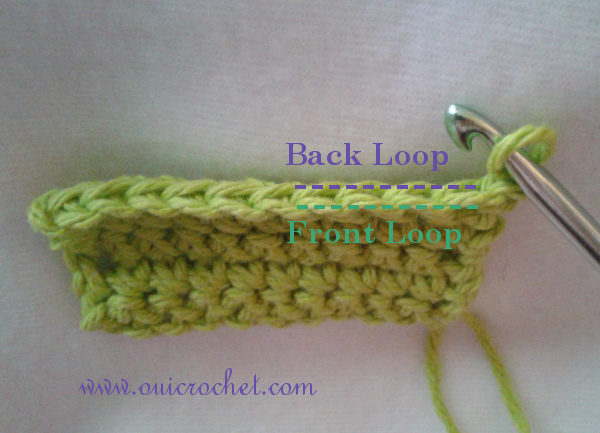
You work the front loop (FL) pretty much the same way… only with the front loop…
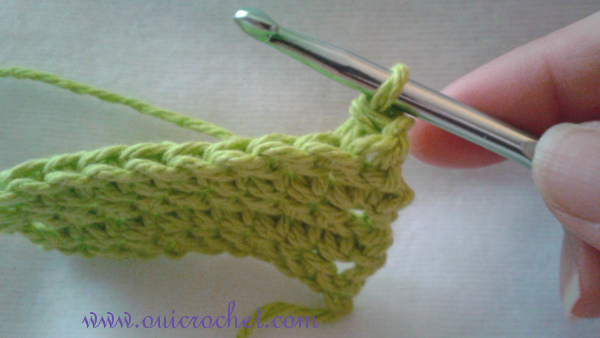
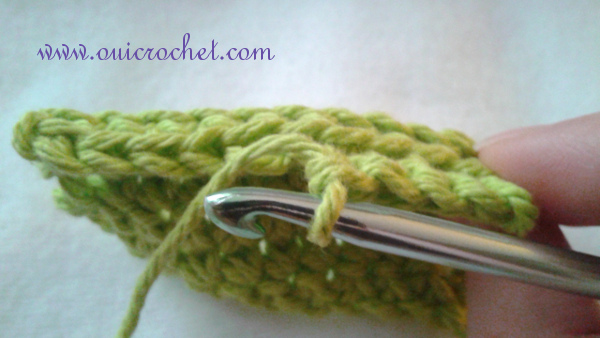
1. Use the photo at the top if you need to, and locate the front loop. Insert your hook into the front loop only. Complete your stitch.
2. Continue working in the front loop, as the pattern calls for.
See?
I told you it is easy!
Now go crochet in the back or front loops until your heart’s content!
I hope you like this tutorial! Click on over to the Resources Gallery if you would like to see more tutorials.
Not seeing what you are looking for? Leave a comment with the type of tutorial you would like, and I will try to help you out.
Note: All patterns are written in American terms.